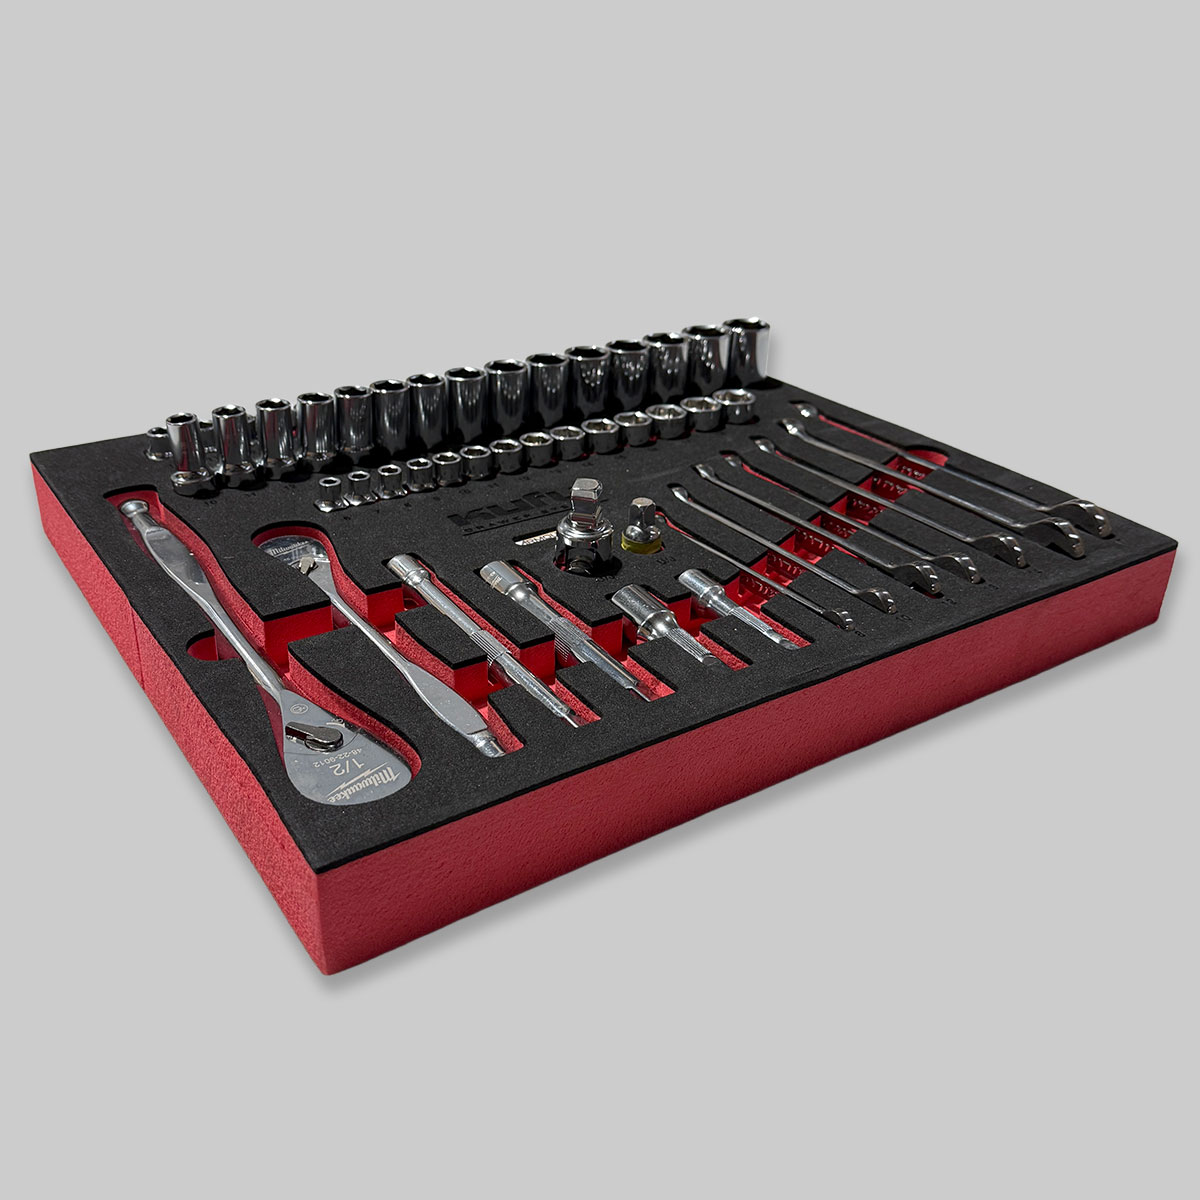
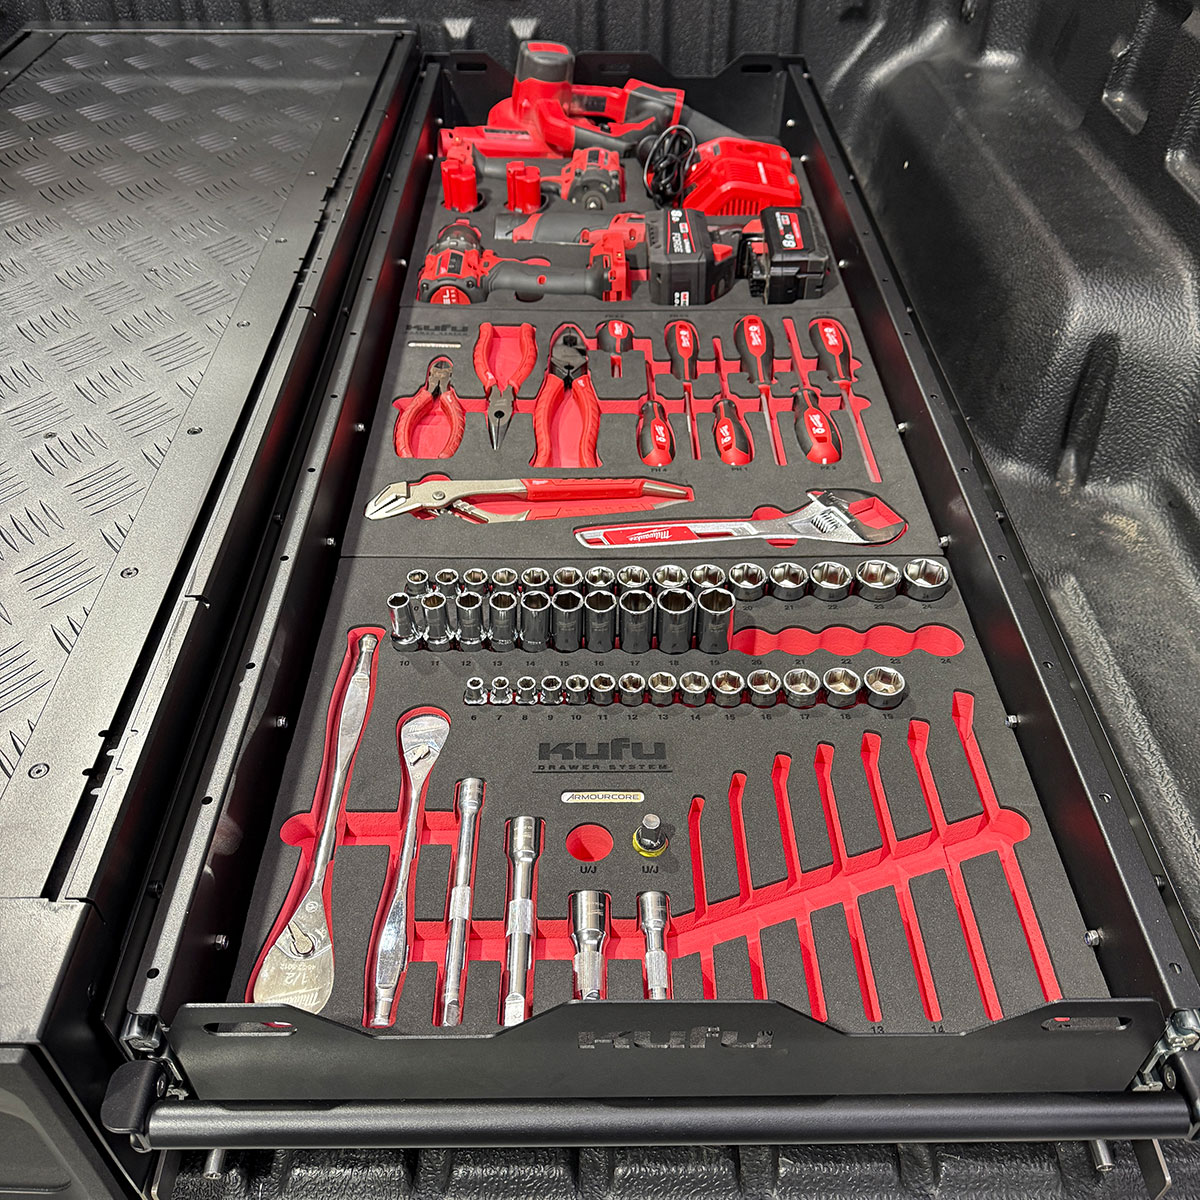
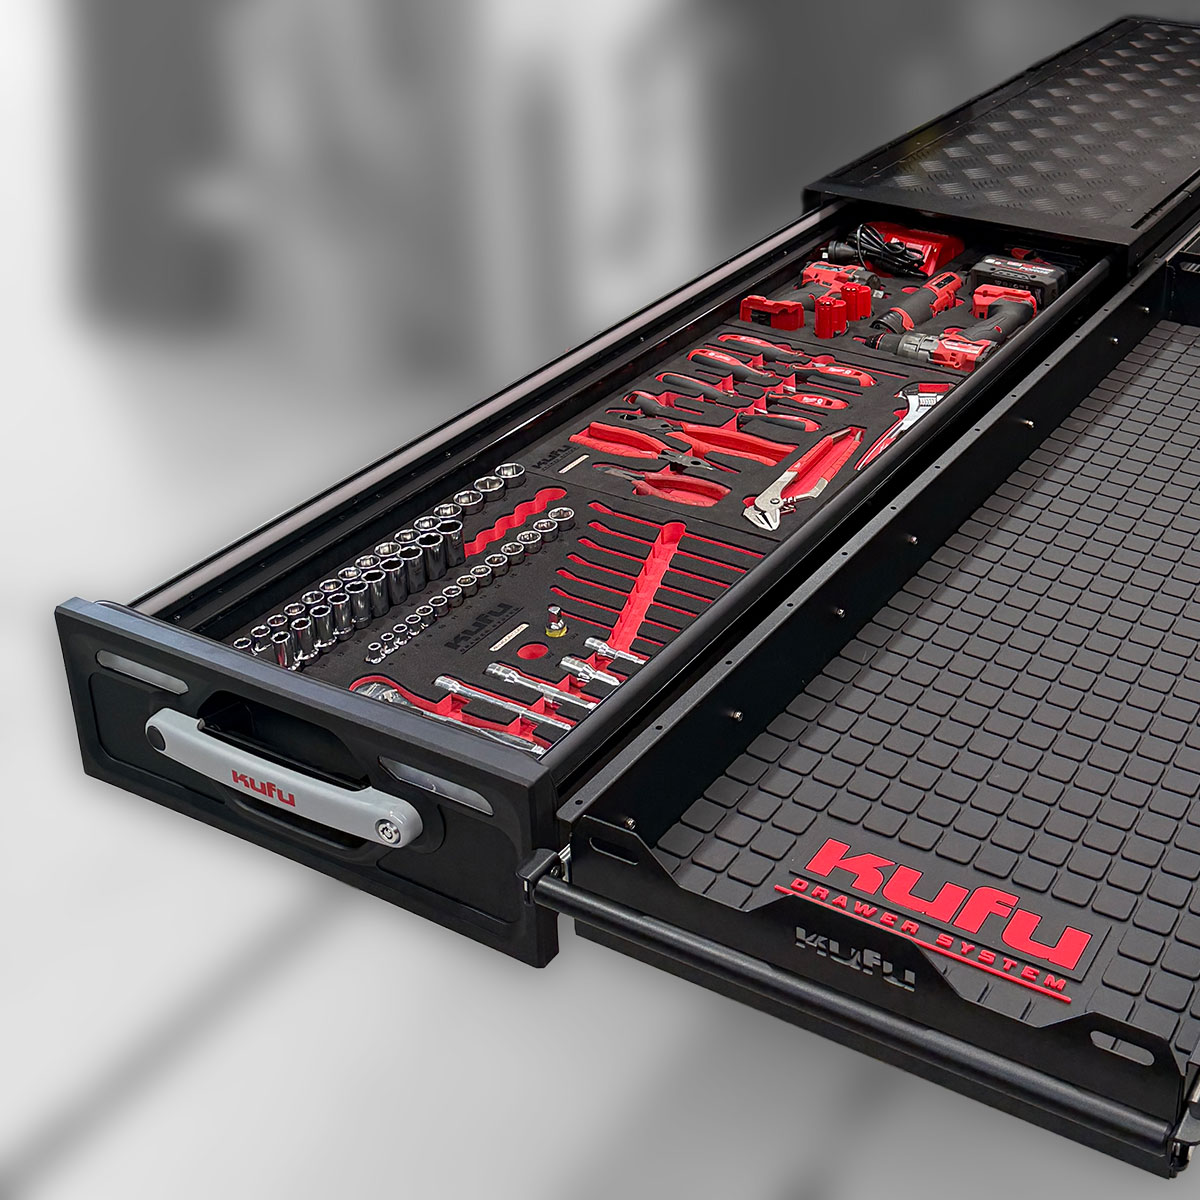
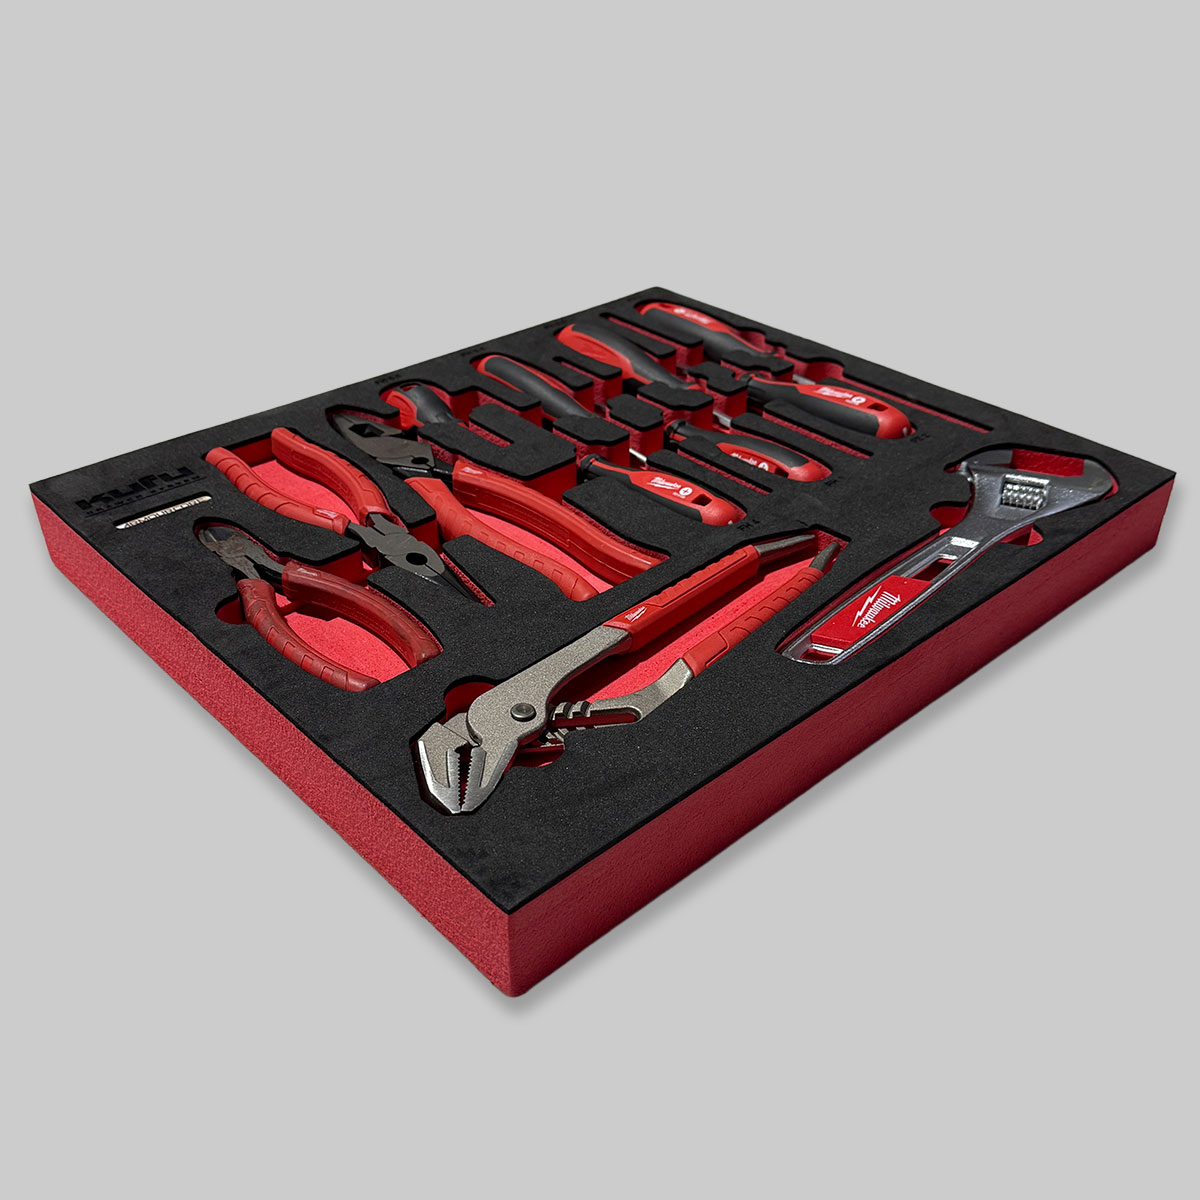
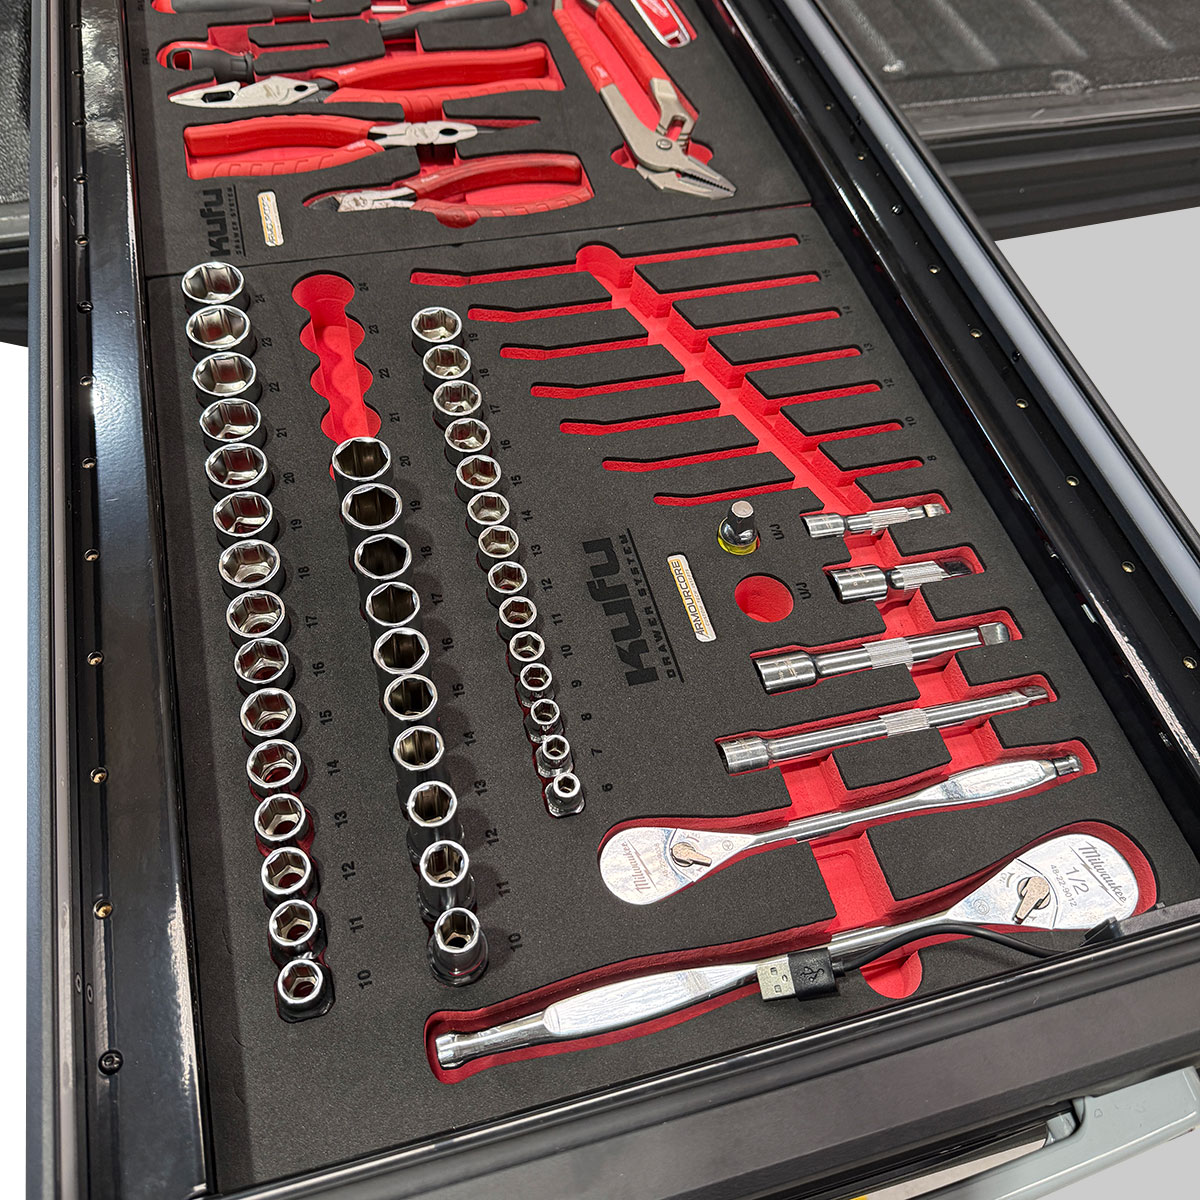
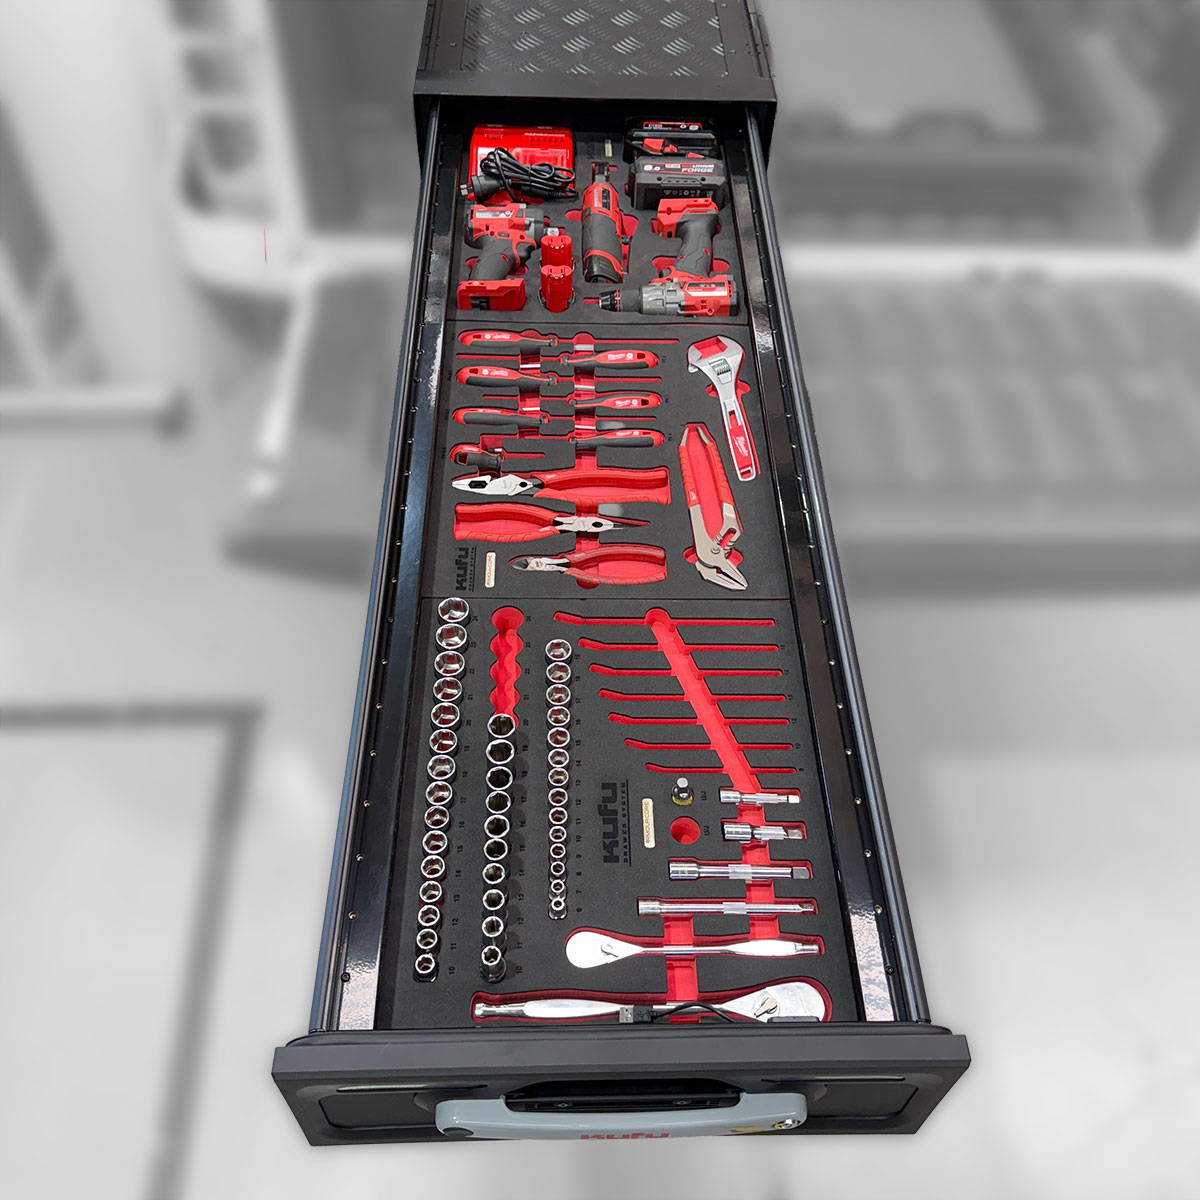
To get a KUFU Custom Tech Insert made, start with Step A below and create a template for your Insert using one of our Design Starter Kits.
To get a KUFU Custom Tech Insert made, start by ordering a Design Starter Kit to suit your desired KUFU Custom Tech Insert, and use the included Calibrated Design Sheets to easily design the template for your Insert.
Once you’ve received your Design Starter Kit, follow our easy Design Instructions to create your template and place an order.
These Design Instructions will help you easily create a Template and photos for your KUFU Custom Tech Insert, which you will then upload via a link emailed to you once your order is confirmed.
Ready? The design is in your hands!
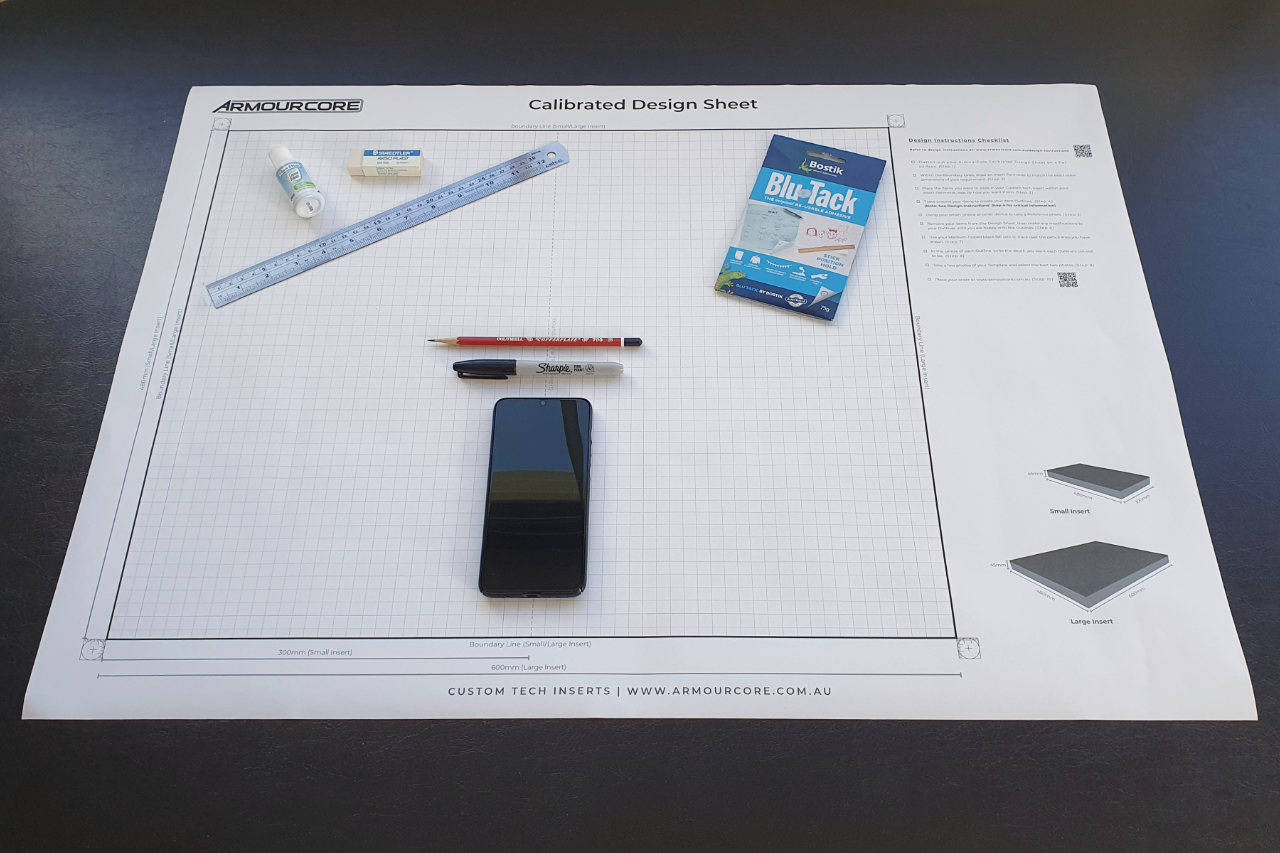
1) 1 x ArmourCore Calibrated Design Sheet (included in the Design Starter Kit).
2) 1 x Pencil
3) 1 x Rubber (optional)
4) 1 x Super-Fine or Fine Tipped Black Marker (as required)
5) 1 x Digital camera or smart phone with camera function.
6) Blu-Tack or similar prop (as required) - to hold tricky items in place.
7) Correction Fluid/Tape (e.g. ‘Liquid Paper') (as required)
8) 1 x Ruler etc. (optional) - makes it easier to draw straight lines.
9) A steady hand and a good eye!
Flatten-out your ArmourCore Calibrated Design Sheet on a flat surface.
(Note: Make it easy for yourself and don’t place any items on your Sheet yet.)
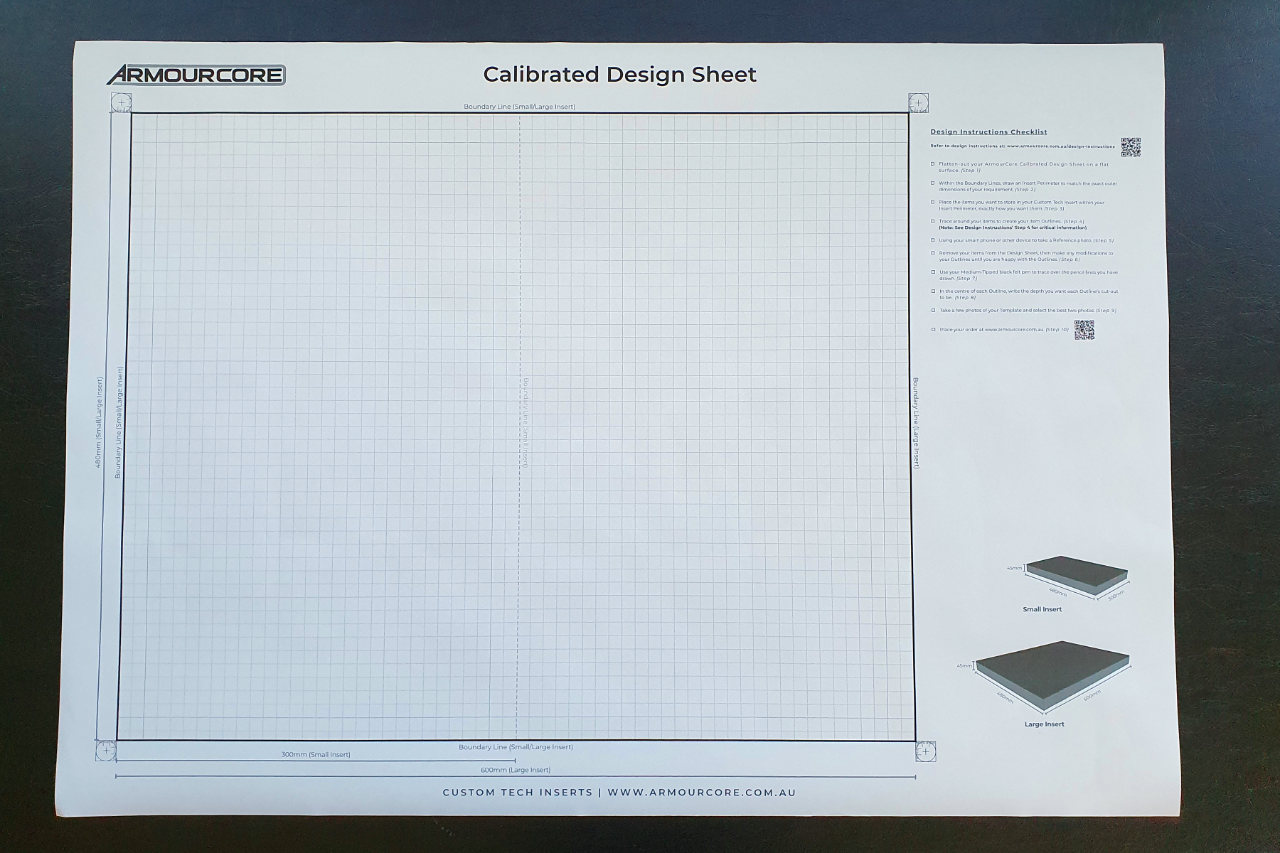
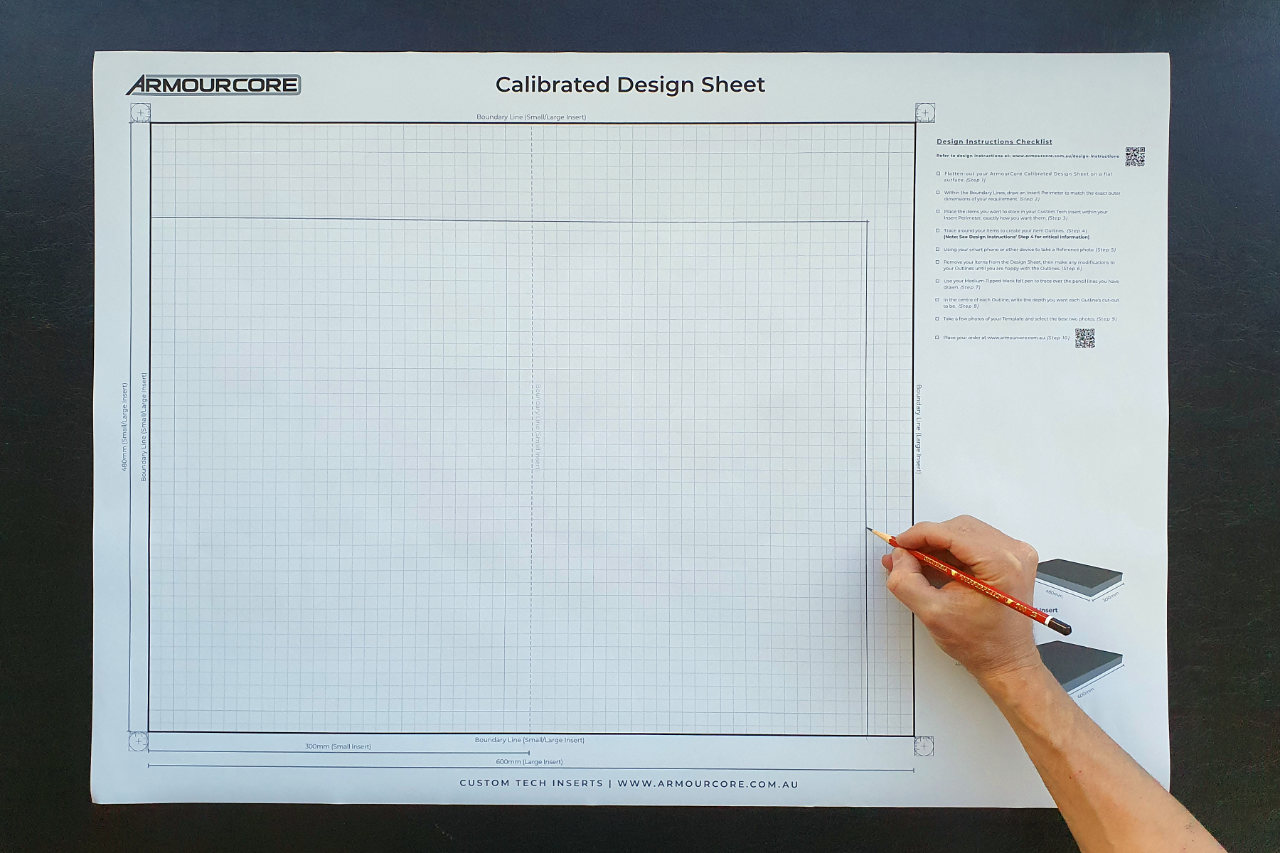
Within the Design Sheet's Boundary Lines for your desired Tech Insert size, using your pencil, draw an Insert Perimeter that matches the exact dimensions of the location your Tech Insert will fit into (e.g. your tool case).
Make sure the Insert Perimeter is one continuous line. This line can be any shape (curved or straight, or a combination of both etc.).
(Note: If your Insert Perimeter will be the same dimensions as the Design Sheet's Boundary Lines, you don’t need to draw them again.)
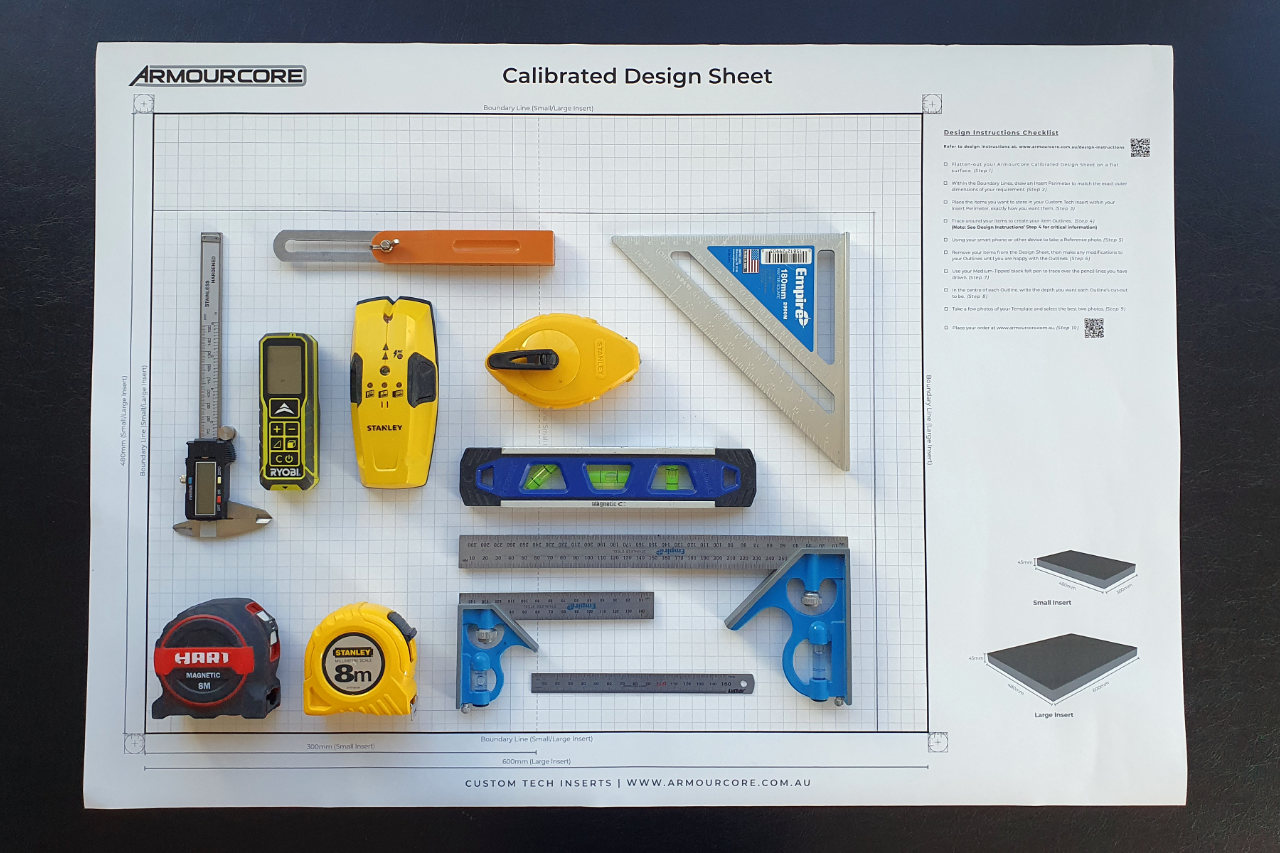
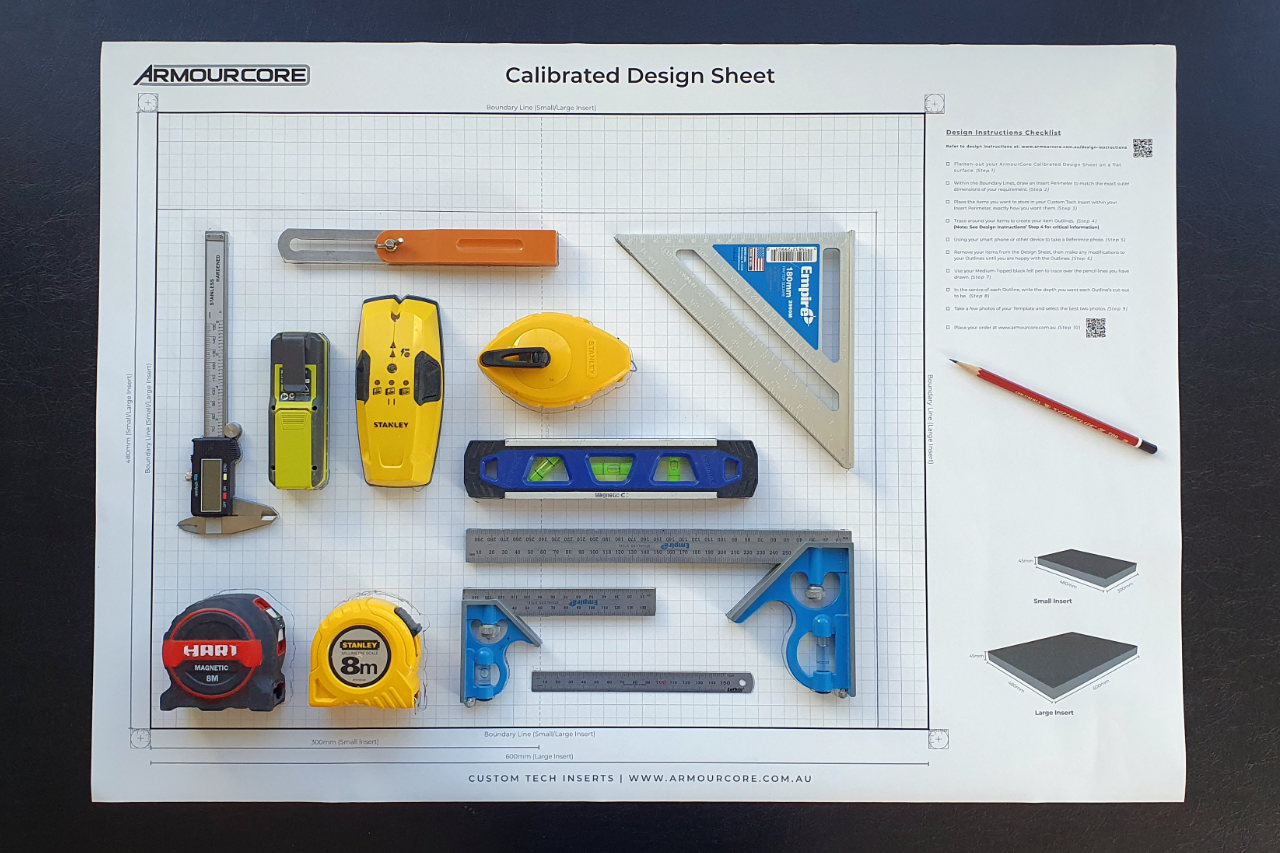
Now that you have the Insert Perimeter for your Layout, place your items within your Insert Perimeter, exactly how you want them.
(Note: Sticking items to the Design Sheet using ‘Blu-Tack’ is a helpful way to keep items in place.)
(Note: When creating your Layout, you must leave at least 15mm between each item, and 15mm between each item and the outer-edge of each Perimeter, to allow space for manufacturing.)
Look at the items on your Layout and ask yourself if you are happy with the way they are placed, and that the items are aligned and straight. Keep adjusting until you are absolutely happy with the way they are laid out.
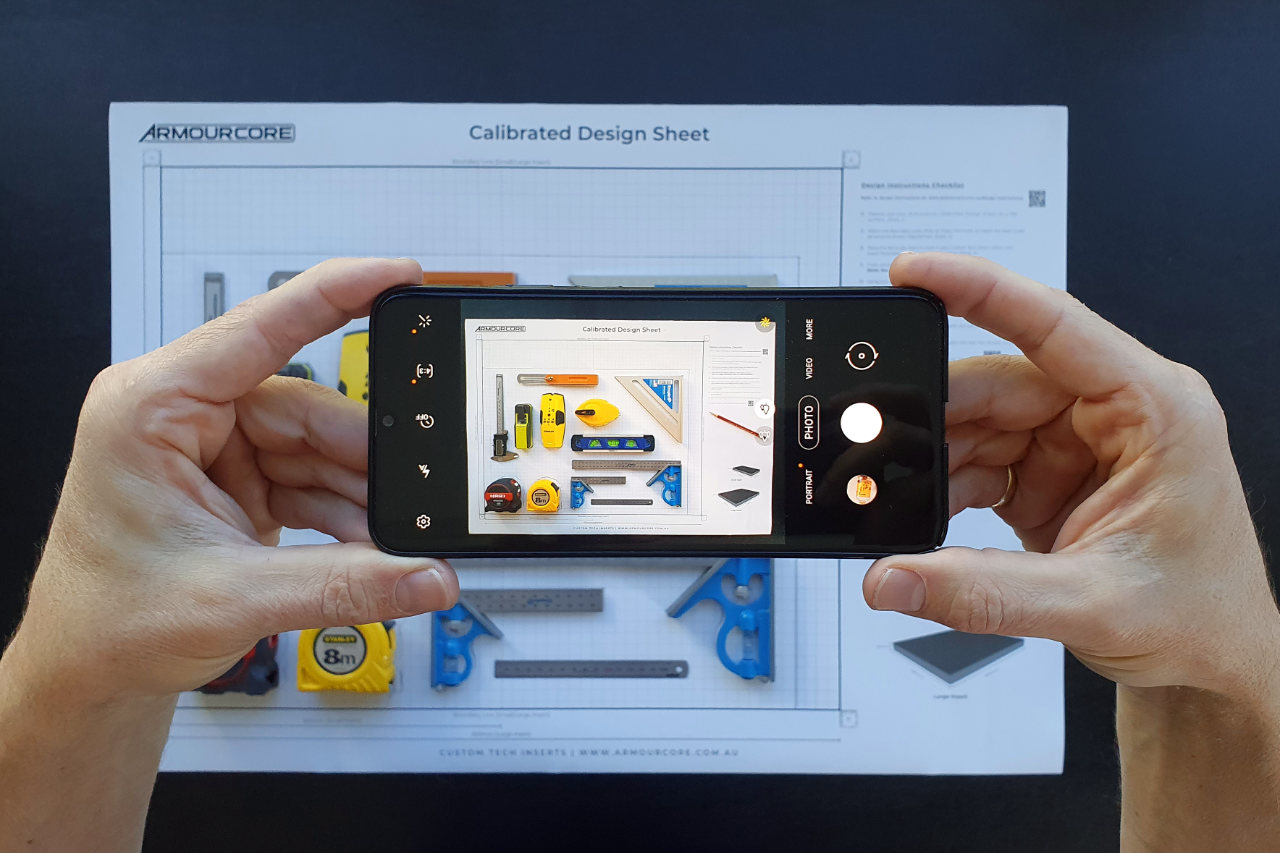
It’s time to take a photo of the Layout while your items are still in place.
Get your camera, either on your smart phone or other device, and open your camera app etc. ready to take a photo.
(Note: Some smart phones have leveling-guides in the Camera app to aid in leveling the phone above the Template. Please refer to your smart phone manufacturers guide for more details).
Stand over your Layout, with your camera in your hands, and align the Design Sheet’s Boundary Lines so that they are visible in your camera’s view-finder and the Boundary Lines are square with all four edges of your camera’s view-finder. Do your best to ensure the camera is level and parallel with the Design Sheet.
This is your ‘Reference Photo’.
(Note: Photos must be in jpeg or png and be at least 2 Megapixels (1600 x 1200) in size)
Once you are happy with the photo, remove the items from the Design Sheet and check that your Outlines are how you want them. Make any modifications you would like until you are happy with the Outlines.
THIS STEP IS CRITICAL! Please read all of the instructions in this step carefully.
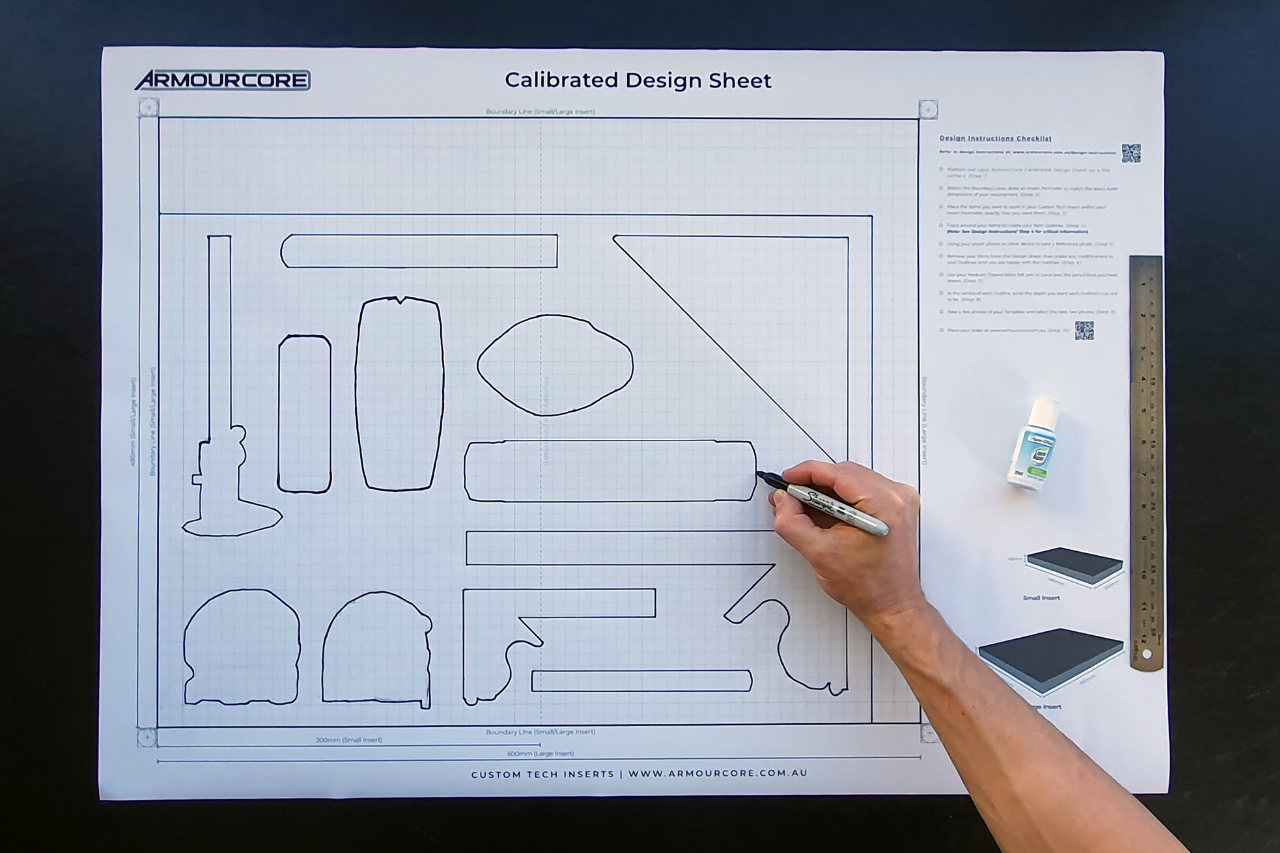
Now that you are happy with the way your items are laid out, with your pencil, trace around your items on the Design Sheet to create your Outlines. Be sure to hold down each item you are marking so that it does not move.
This step is the most important step in the process. The tighter and more accurate you make your outlines around your items, the better the end result. Take your time! It is common for people to make a couple of drafts with their pencil before they are happy with a final Template.
Each Outline must be one continuous line.
Instruction Image (Rev 2), Step 04
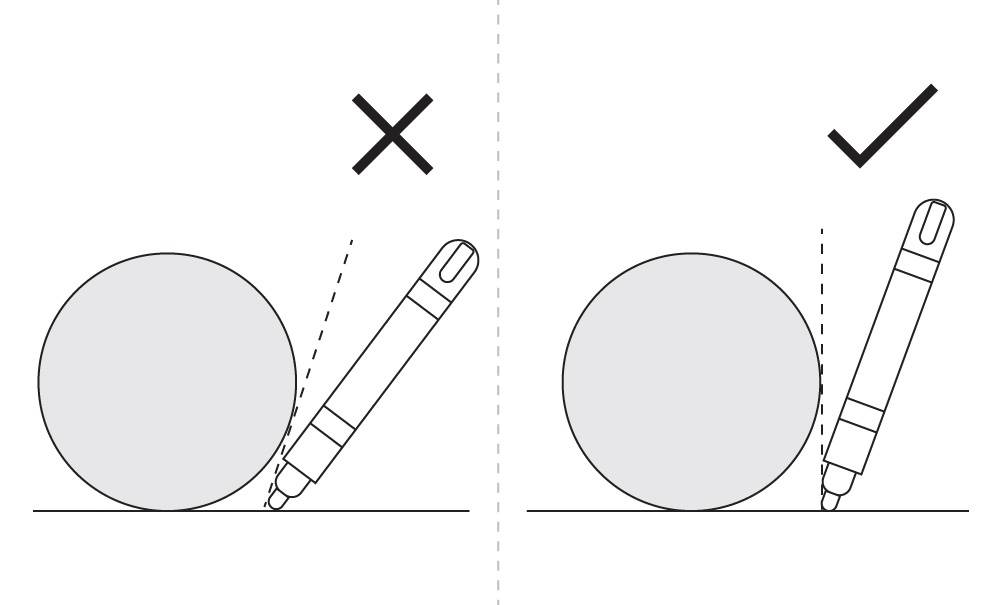
Hold the pencil so that the tip of the pencil is closest to your item as you draw your Outlines.
For best results look down directly over the top the item you are tracing around. This will help ensure that each Outline is close to your item.
Be careful not to draw the Outline underneath items with curved surfaces (e.g. Cylinders). If you do, your item cut-out will be too small, and your item won't fit.
You may also find it easier to free-hand or use a ruler for some lines.
Once you are happy, you are now ready to take a photo.
(Optional): If your pencil lines are not darker than the Design Grid lines, use your fine-tipped black felt pen to trace over the pencil lines you have drawn.
(Note: We will work with the inner dimensions of each Outline, so don’t worry if there are pen-marks on the outside of your Outlines. If you’ve drawn an unwanted mark within an Outline or if you want to make any other corrections to the Outlines, now is the perfect time to make those corrections using Correction Fluid/Tape to cover over unwanted marks.)
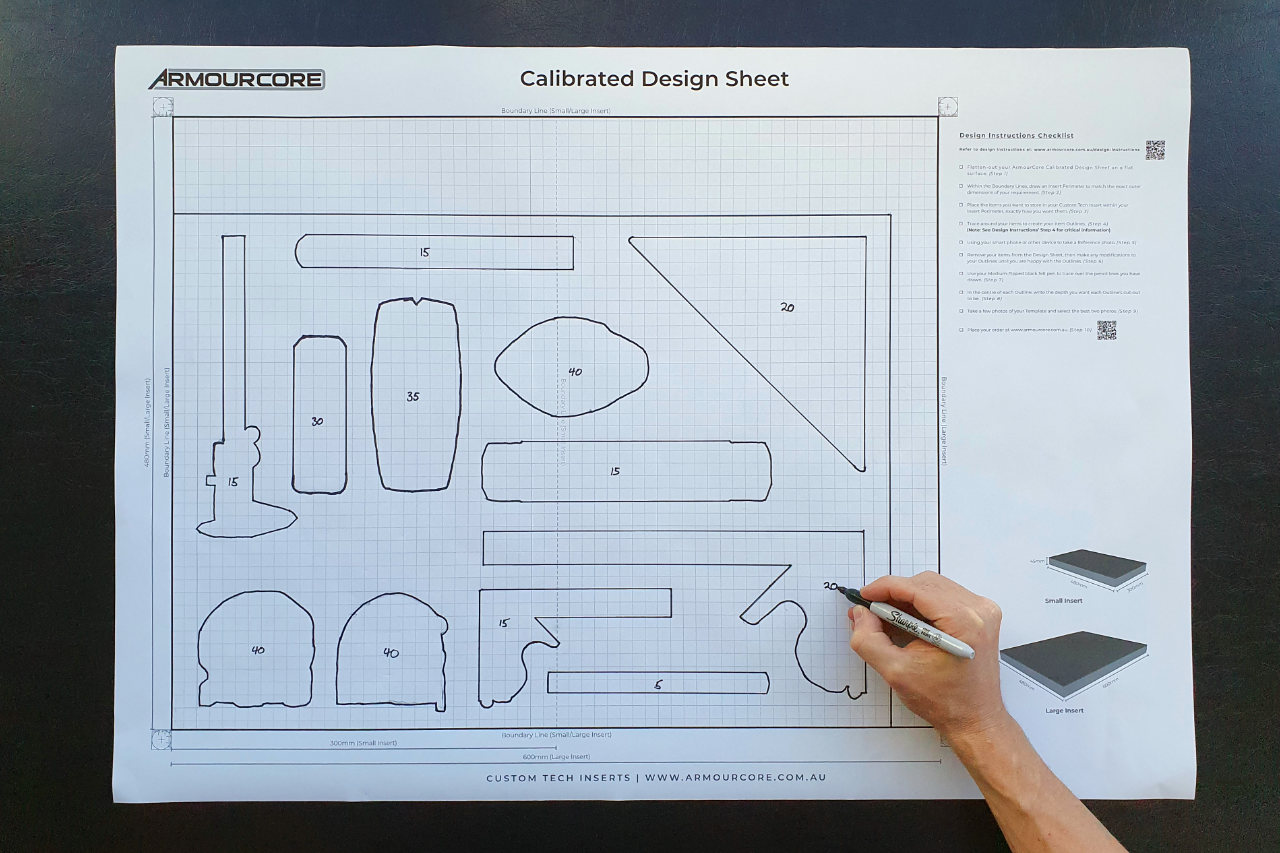
Now, in the centre of each Outline, use your Marker to write the depth you want each Outline’s cut-out to be. If an Outline is too thin to write a depth within the Outline, you can write the depth beside the Outline and draw an arrow pointing from the depth to the Outline.
You can choose depths in 5mm increments (e.g. 5mm, 10mm, 15mm etc.) up to a maximum depth of 40mm. However, if you would like a cut-out to cut completely through your Custom Tech Insert, please write “Thru” in the centre of the relevant Outline.
Ensure the Design Sheet is FLAT and there are no ridges in the paper (use weights or tape if needed).
Once again, stand over your Layout, with your camera in your hands and align the Design Sheet’s Boundary Lines so that they are visible in your camera’s view-finder and the Boundary Lines are square with all four edges of your camera’s view-finder.
Take a few photos of your Layout and select the best two photos. (Note: Ensure that all the red Corner Calibration Markers are visible in the photo).
Now, ask yourself, does the Layout in these photos look exactly how I want it to look in my KUFU Custom Tech Insert? Are the Outlines aligned and straight, and is the photo squared with the Boundary Lines?
If the answer is no to any of these points, delete the photos and make any adjustments you want to your Template. Now take 2 more photos, then ask yourself the same questions.
If you are now happy with the two photos, these two photos are your 'Template Photos'. Otherwise repeat until you are happy that the two photos look exactly how you want them to look.
(Note: Photos must be in jpeg or png and be at least 2 Megapixels (1600 x 1200) in size).
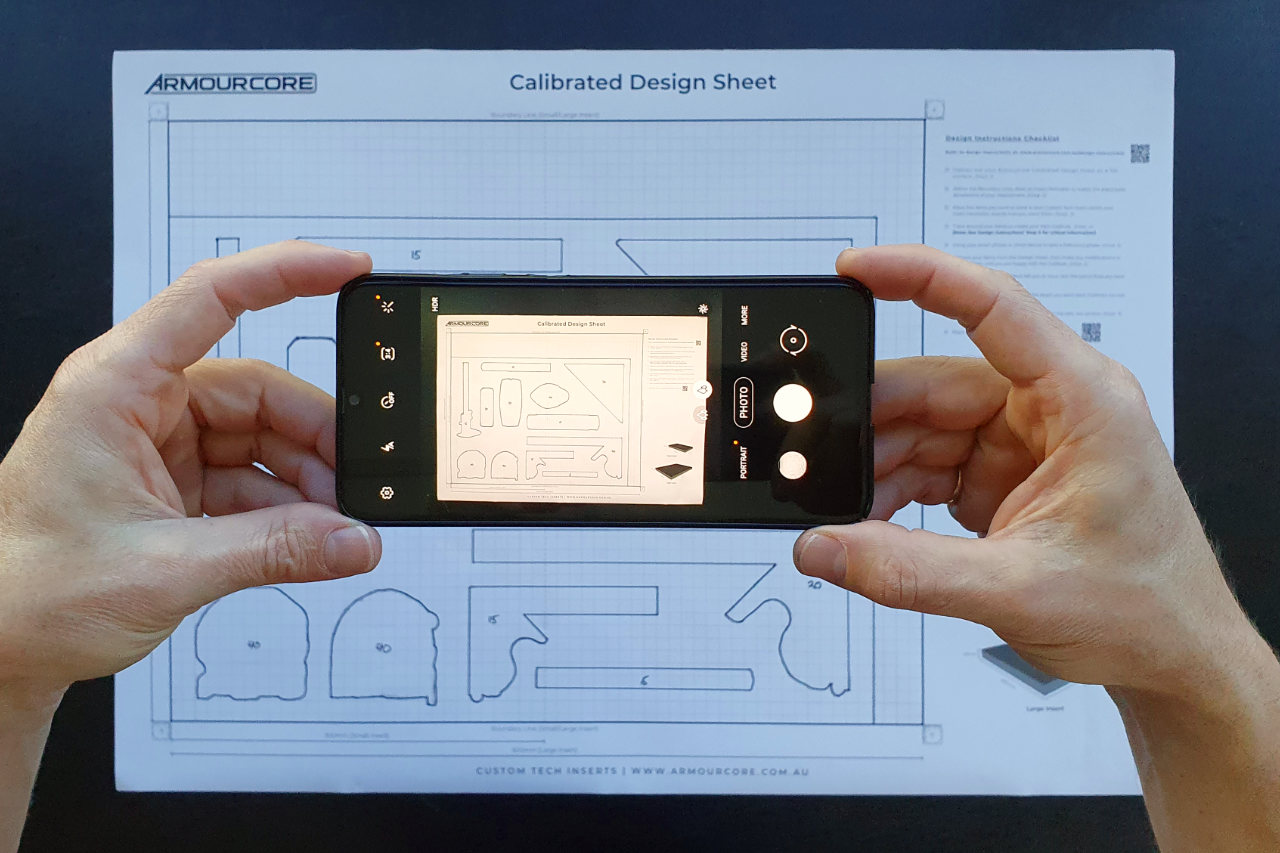
Once you are happy that the items, and the way they are laid out in the photos look exactly how you want them to look in your KUFU Custom Tech Insert, you are ready to place your order for an KUFU Custom Tech Insert.
(Note: We will send you an email to confirm your order and provide you with a link to upload the Reference photo and the two Template photos.)